Setup your own safe search engine using SearXNG
In this tutorial, we'll walk through how to set up and configure SearXNG, an open-source metasearch engine, for use in your own custom applications - and, of course, for use with Msty Studio.
Video Guide
Getting Started
SearXNG is a powerful, privacy-respecting search engine that aggregates results from multiple sources without tracking users.
You can host it yourself to have full control over the behavior, sources, and appearance.
Installation Steps
1. Environment Setup
Before installing SearXNG, first provision a server and setup dependencies.
There are many VPS hosting providers you can choose from - Vultr, Digital Ocean, Hetzner, etc...
For a quick setup, we'll use Cleavr.io to provision a server on our preferred hosting provider and ensure we have a few dependencies installed - which you can check from the Server > Services section in Cleavr:
- Nginx
- Docker
In Cleavr, you can use their SSH key management to add your SSH key to the server. Also, add a new Generic Port App site to the server you provisioned and ensure the port is set to 8080 when setting up the new site.
Of course, you can use a different server management tool or setup the dependencies manually via the server's terminal - whichever means you prefer to setup the environment.
Once you have your environment setup and ready-to-go, move on to the next steps to install and configure SearXNG.
2. Open Server Terminal
Access your server's terminal via SSH or thru your hosting provider's server console interface.
3. Add Docker User
In this setup, we are using Docker - so let's first create a docker user.
sudo usermod -a -G docker $USER
You don't have to use the docker installation method. However, at the time of this article, the 'Installation Script' method that SearXNG docs have instructions for had an issue with Redis installation failing. If you'd like to avoid Docker, we'd recommend first attempting the installation script method.
4. Pull Docker
Next, run the below command. Swap my-instance to a directory name of your choosing.
mkdir my-instance
cd my-instance
export PORT=8080
docker pull searxng/searxng
docker run --rm \
 -d -p ${PORT}:8080 \
             -v "${PWD}/searxng:/etc/searxng" \
 -e "BASE_URL=http://localhost:$PORT/" \
 -e "INSTANCE_NAME=my-instance" \
 searxng/searxng
5. Verify SearXNG Docker container is running
Run the following command:
docker container ls
You should see a searxng/searxng image running on a container.
6. Edit SearXNG settings
After project has been pulled down, a new searxng directory will be created which contains a settings.yml file. Edit this file using vim or similar.
vim searxng/settings.yml
Locate the search: section and add - json. This is needed because SearXNG disables json responses by default, which is what we'll need for our integration with Msty.
search:
---
formats:
  - html
  - json
Next, locate the server: block and then the default_http_headers section. We'll need to add a few access controls to headers so that we do not get CORS errors.
server:
---
default_http_headers:
X-Content-Type-Options: nosniff
X-Download-Options: noopen
X-Robots-Tag: noindex, nofollow
Referrer-Policy: no-referrer
Access-Control-Allow-Origin: https://msty.studio <-- add this line
Access-Control-Allow-Methods: POST, OPTIONS <-- add this line
Access-Control-Allow-Headers: Content-Type, X-Requested-With <-- add this line
Save the settings file.
7. Restart container
Get the container ID by running:
search:
docker container ls
Grab the container ID and use it in the following command to restart the container:
docker container restart {container id}
8. Verify JSON format is being returned
Before leaving the terminal, let's ensure that JSON is being returned when querying SearXNG.
To do this, you can run the following in the terminal:
curl -v "http://127.0.0.1:8080/search?q=tacos&format=json"
If you see json being returned, then you are all ready to go! If you see a 403 Forbidden error, then you likely did not set json format correctly in settings or you did not restart the container.
9. Configure in Msty Studio Real-Time-Data
Back in Msty Studio, click on the globe icon for Real-Time Data (RTD), select the SearXNG tab, and then enter the endpoint for SearXNG. The endpoint is going to be the domain you setup in Cleavr, or the ip address and port https://your.public.ip.address:8080, or however you may have setup your server in the first step.
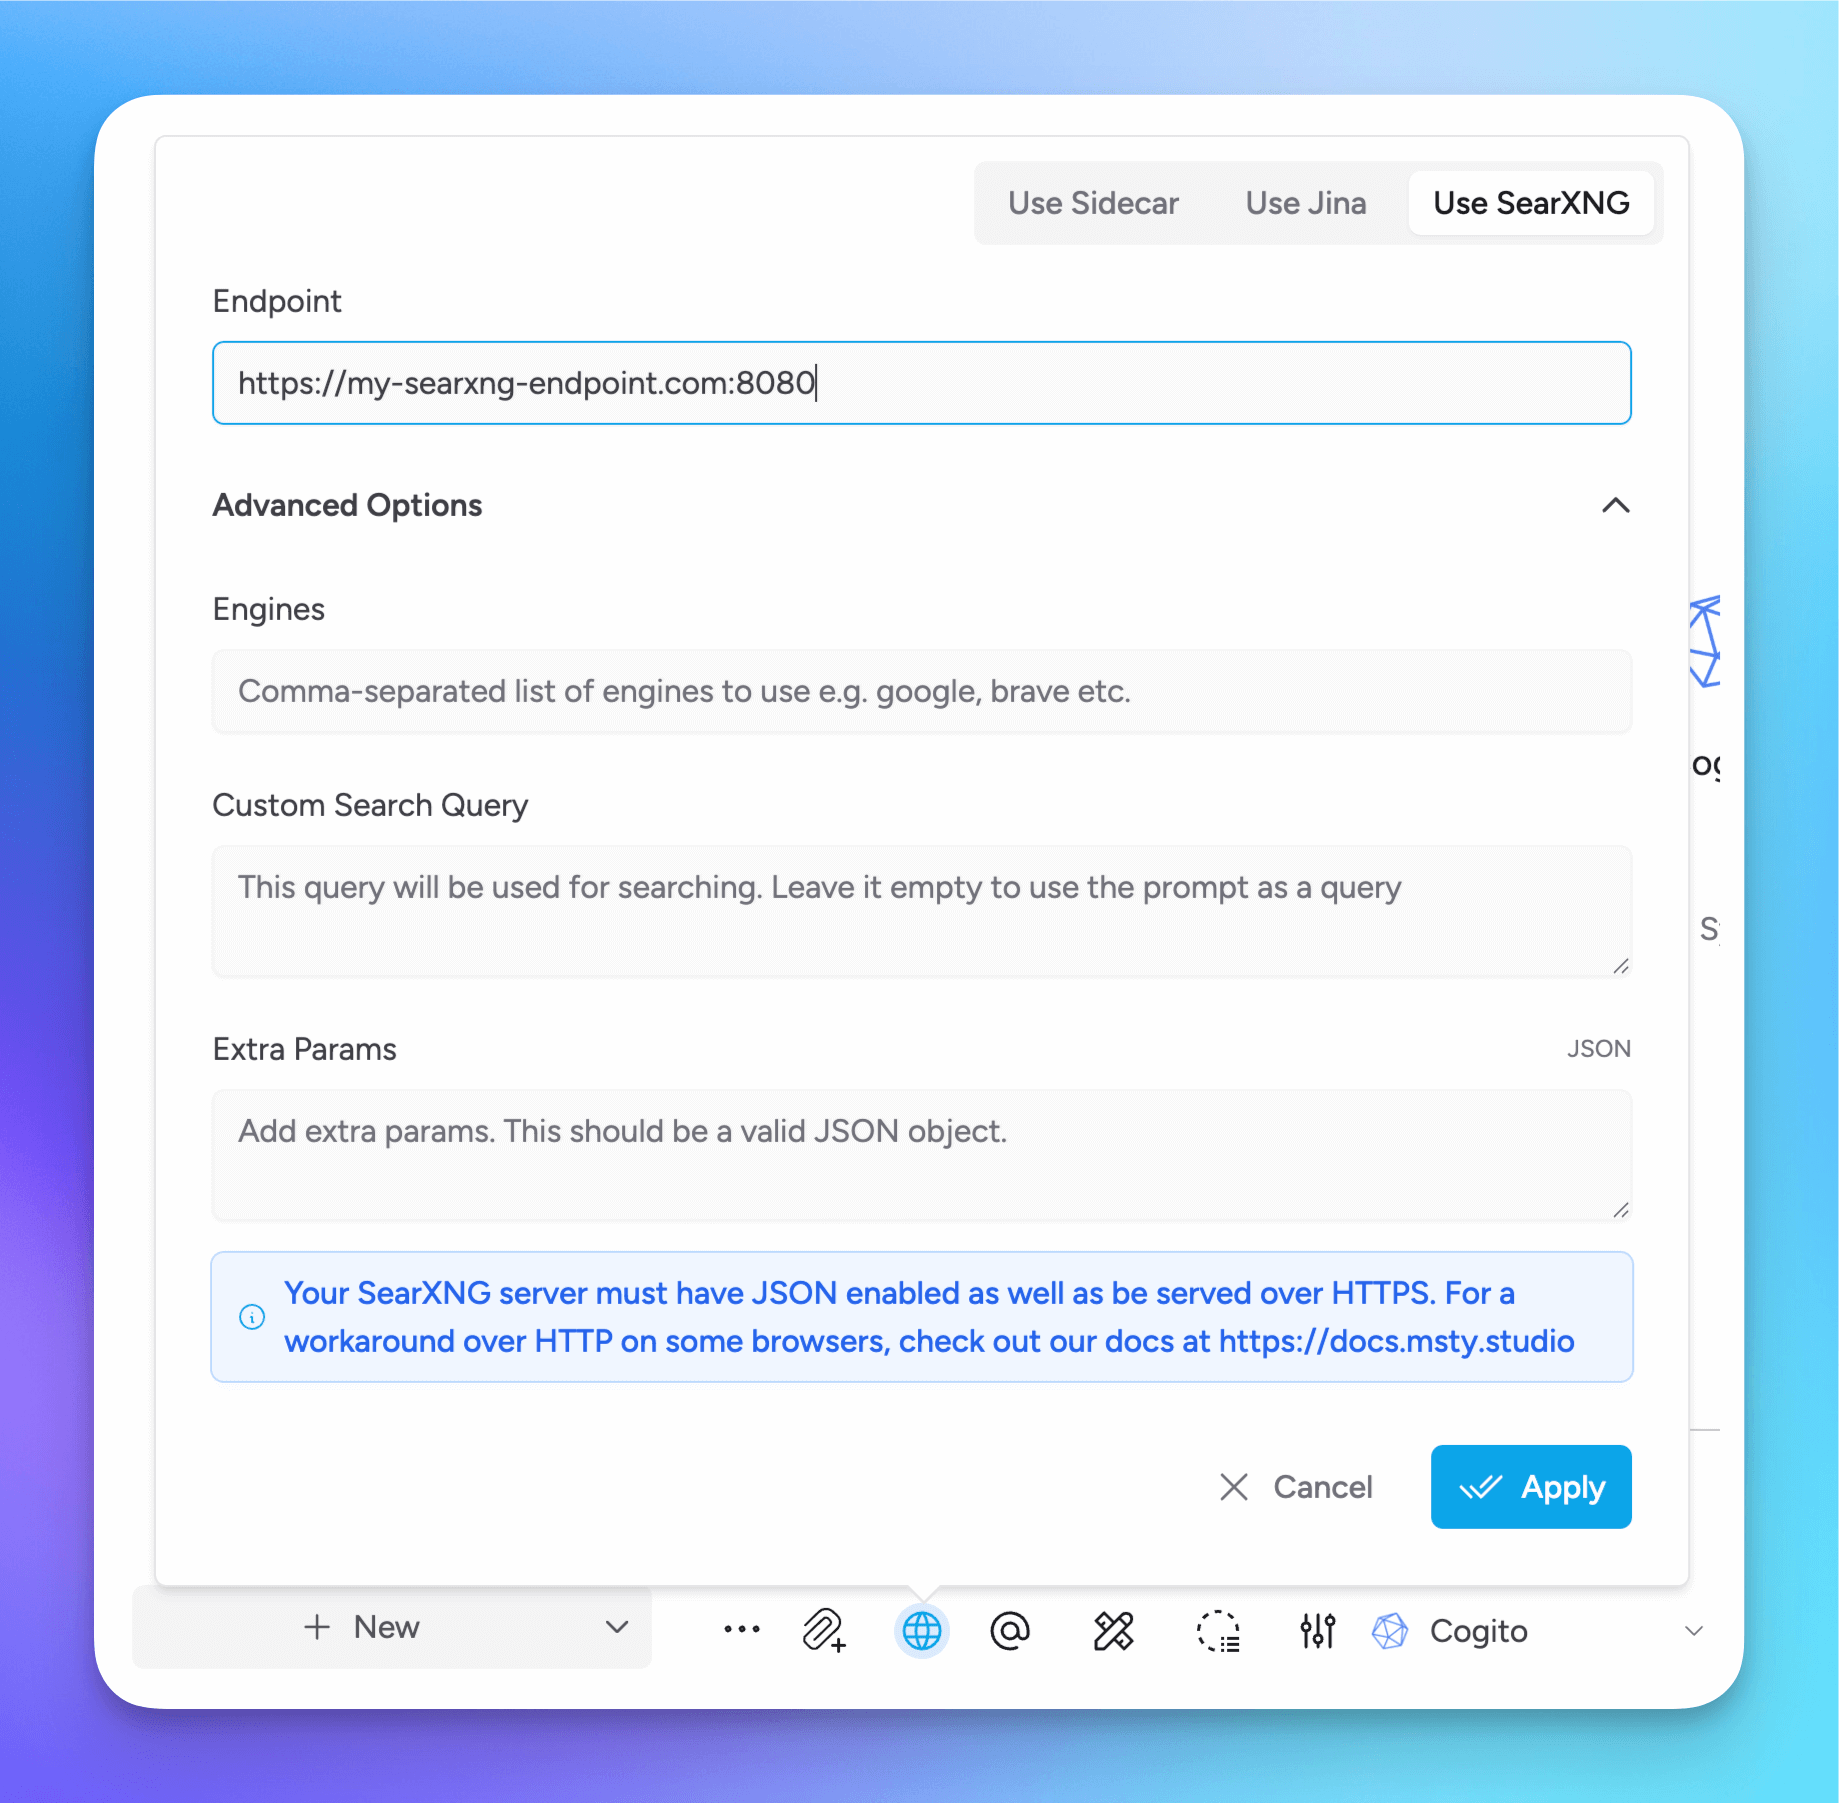
If you are using Msty Studio to connect to SearXNG:
Enable RTD and verify that you received real-time data results in the response from the model you are conversing with.
Conclusion
Setting up SearXNG provides a highly customizable and privacy-focused search experience.
Whether you're utilizing it with Msty Studio or running a standalone search portal, SearXNG will help you rest-assured that your searches are private.
Additional Resources
Get Started with Msty Studio
Msty Studio Desktop
Full-featured desktop application
✨ Get started for free
Subscription required