Getting Started with Msty Toolbox and MCP
Have you heard about the AI MCP buzßz and are wondering what it is and how you can make use of it?
In this guide, we’ll introduce you to the Model Context Protocol (MCP), how it powers Msty Studio’s Toolbox, and how to set up a Google Calendar integration so you can test it yourself.
While much of the MCP ecosystem is geared toward developers, don’t worry, this guide is written for non-technical users, so you won’t miss out on the fun.
What is Model Context Protocol (MCP)?
In the context of AI, MCP is a framework for structuring how information is passed into, maintained within, and used by large language models (LLMs) like ChatGPT, Claude, or Gemini.
Think of it like an API for LLMs, but one that doesn’t just send data. It can also trigger actions, events, or tools.
This is a powerful way to extend LLMs’ capabilities, and it’s the foundation of Msty’s Toolbox features.
Getting Started with Msty Toolbox
To start with Msty Studio's Toolbox, we have pre-built tools that you can use to get started.
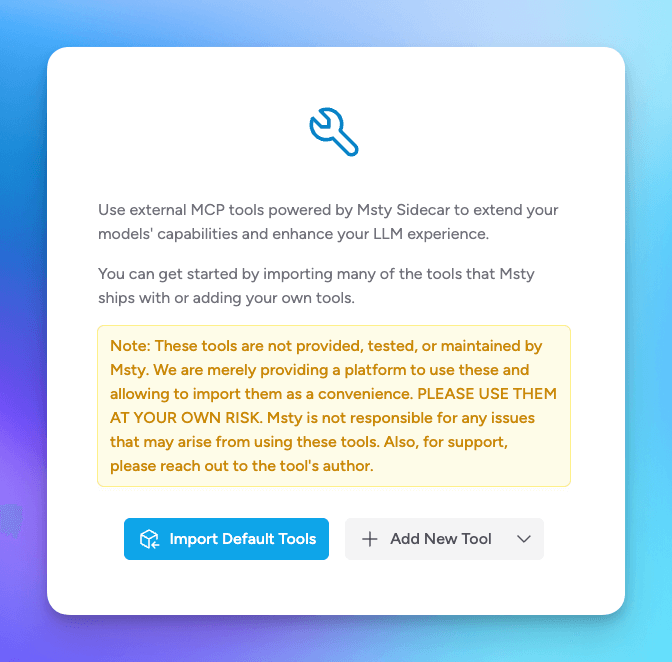
- In Msty Studio, select the Toolbox icon in the left sidebar. This will open the Tools tab where you can add and manage your tools.
- Select the option to Import Default Tools. This will import a set of default MCP tools from third-parties that you can use to get started quickly.
Regarding tools, there are a few things to always consider:
- Unless you developed the tool yourself, you should perform some due diligence to ensure that the tool is safe to use - even with the default tools Msty provides.
- As with any integration, you should be careful about what data you share with the tool.
- Not all models support all tools - such as, a local model may support "tools" but may not support the same tools as a cloud model. This is true for the example we'll be using in this post, where local models may not likely support the authentication method used in the example.
Install Local dependencies
Tools in the Toolbox run locally on your device, which means you’ll need some system dependencies installed.
Don’t worry, this is technical, but we’ll walk you through it.
For the Google Calendar tool, you’ll need:
- Node
- NPX (usually installed with Node)
Check if Node is installed
Let’s check if you have Node installed on your device and if not, we’ll install it.
Windows
- Open the Command Prompt (click Start Button > type 'cmd') or PowerShell.
- Type
node -vand press Enter. - If Node is installed, you will see the version number. If not, you will see an error message.
- If Node is not installed, first install Volta.
winget install Volta.Volta
- Once Volta is installed, use it to install Node by running the following command in the Command Prompt or PowerShell.
volta install node
Unix / Mac
- Open the Terminal.
- Type
node -vand press Enter. - If Node is installed, you will see the version number. If not, you will see an error message.
- If Node is not installed, you can install it using Volta. First, install Volta.
curl https://get.volta.sh | bash
- Once Volta is installed, use it to install Node by running the following command in the Terminal.
volta install node
Launch Msty Sidecar
To run tools, Msty Sidecar must be running and connected to Msty Studio.
Follow the Msty Sidecar Documentation to get Sidecar up and running with Studio.
One important thing to note is that since Sidecar will be running locally and act as a server, it may be best to start Sidecar from the command line. This will more appropriately launch Sidecar with the ability to connect to local dependencies running on your machine, such as Node, Python, and NPM.
You can launch Sidecar from command line by running the following command:
Windows
start "MstySidecar"
Mac
open -a MstySidecar
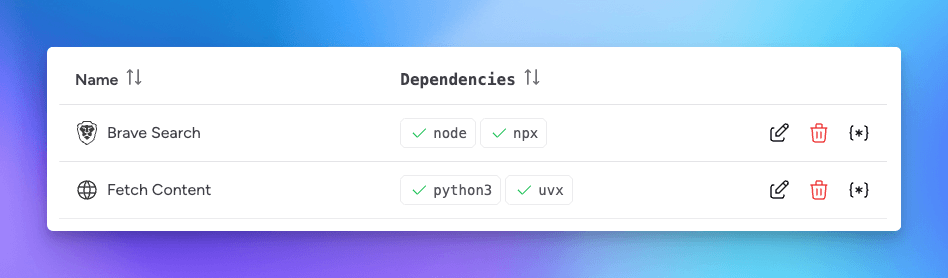
You'll know everything's set up if you see green checkmarks next to dependencies:
Find a Tool to Use
A good method to search for tools to use in Msty's Toolbox is to search 'MCP' on NPM's website. By searching NPM's website, you can browse tools that are more likely to be compatible and it will be a little easier to identify those that are.
One thing to look out for when reviewing options is if they have a JSON configuration section.
For example, for the Google Calendar tool, we are using the Google Calendar MCP Server and if you scroll down, you will see the following JSON configuration section:
{
  "mcpServers": {
    "google-calendar": {
      "command": "npx",
      "args": ["-y", "@takumi0706/google-calendar-mcp"],
      "env": {
        "GOOGLE_CLIENT_ID": "your_client_id",
        "GOOGLE_CLIENT_SECRET": "your_client_secret",
        "GOOGLE_REDIRECT_URI": "http://localhost:4153/oauth2callback",
        "USE_MANUAL_AUTH": "false"
      }
    }
  }
}
In this JSON snippet, you can see that the command is npx, which let's us know that this tool requires Node and NPX, which we've already installed.
Also, note that not all of this information is required when adding to Tools. What is required is the information within google-calendar, specifically the command, args, and env sections.
Add the Google Calendar Tool to Msty Studio
- Copy the JSON snippet to your clipboard.
{
  "command": "npx",
  "args": ["-y", "@takumi0706/google-calendar-mcp"],
  "env": {
    "GOOGLE_CLIENT_ID": "your_client_id",
    "GOOGLE_CLIENT_SECRET": "your_client_secret",
    "GOOGLE_REDIRECT_URI": "http://localhost:4153/oauth2callback",
    "USE_MANUAL_AUTH": "false"
  }
}
- In Msty Studio's Tools section, select the down arrow next to Add New Tool and then select Import Tool from JSON Clipboard.
This will automatically add the new Tool to Msty and you will see it as an option on the Table.

Setup Google Calendar oAuth and Credentials
If you look back at the JSON configuration, you will see that there are some credentials that need to be set up in order to use the Google Calendar tool.
- GOOGLE_CLIENT_ID
- GOOGLE_CLIENT_SECRET
- GOOGLE_REDIRECT_URI
- USE_MANUAL_AUTH
For these, we'll need to set up a Google Cloud Project.
- Go to the Google Cloud Console and create an account and a new project.
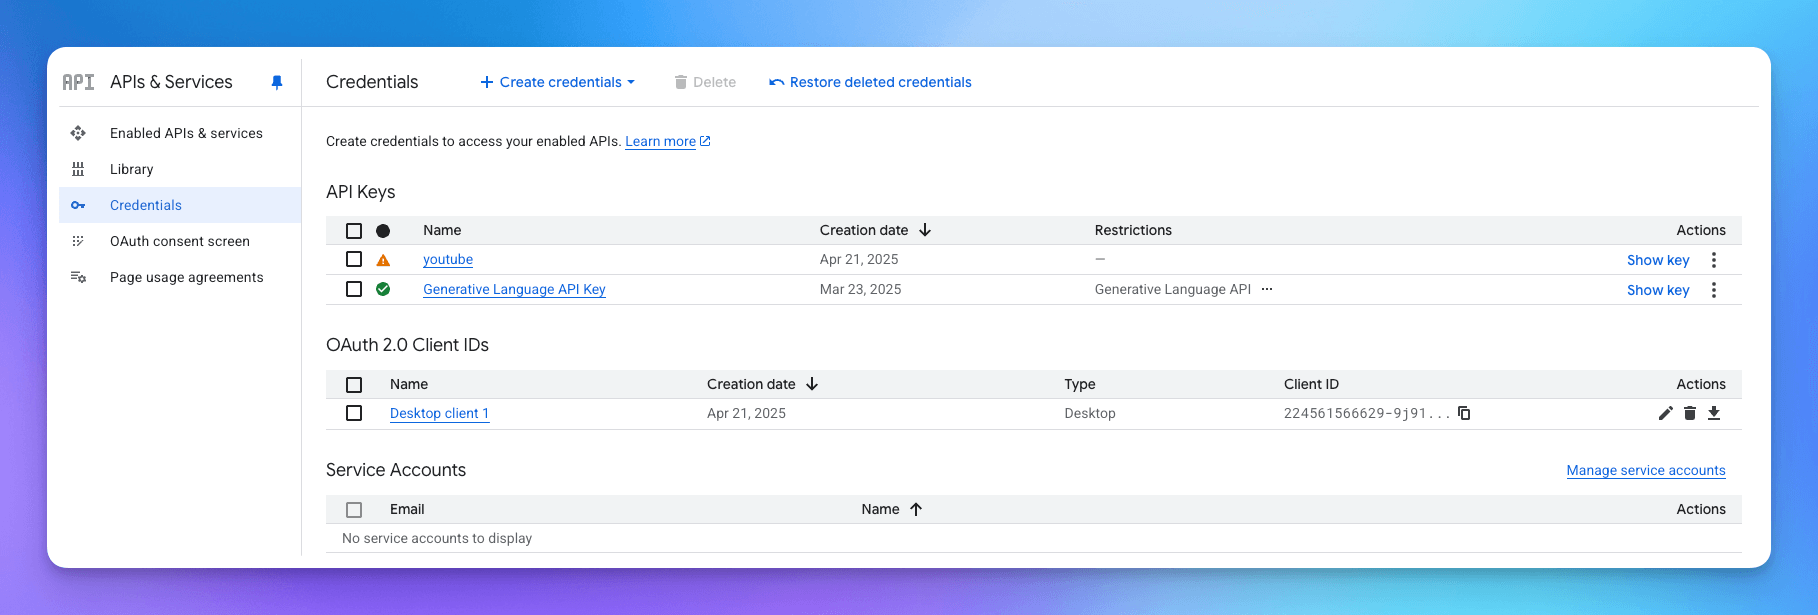
- Navigate to the API & Services section
- Towards the top of the page, select Enable APIs and Services.
- Search for Google Calendar API and select it.
- Select Enable and then Create Credentials and then click OAuth Client ID.
- Select Desktop app as the application type and select Create.
- You will see a pop-up with your Client ID and Client Secret. Copy these values - we'll add them to Msty in the next step.
The redirect URI and manual auth settings are already set in the JSON configuration, so you do not need to change them. Though, ensure that USE_MANUAL_AUTH is set to false.
Configure the Google Calendar Tool in Msty Studio
Now that we have the oAuth setup and credentials, we can now configure the Google Calendar tool in Msty Studio.
- Open Msty Studio and navigate to the Tools section.
- Find the Google Calendar tool you imported earlier.
- Click on the asterisk (*) to open its configuration settings.
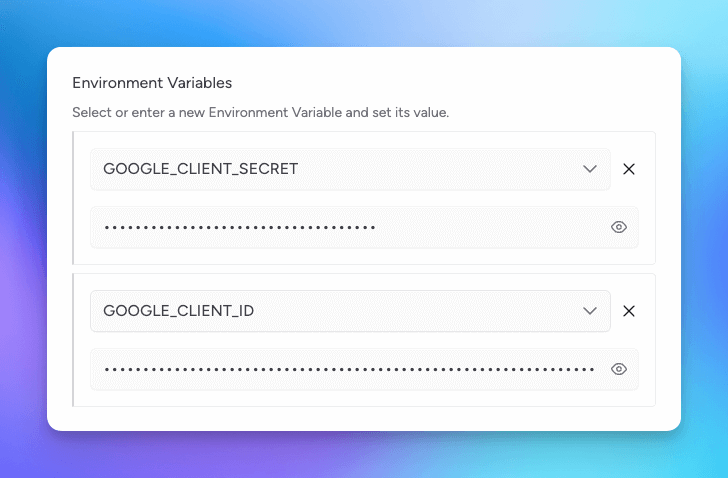
- Paste your Client ID and Client Secret into the appropriate Environment Variable fields.
- Save your changes.
Test the Calendar Tool
Let's check to ensure that the Google Calendar tool is set up properly.
- Select the asterisk (*) next to the Google Calendar tool in Msty Studio.
- Scroll towards the bottom where you will see Tool Console.
- Select the down arrow next to Tool Console to expand the section.
- Click on the List google-calendar's Features button.
This will run the tool and the first thing you should notice is that a browser window will open and ask you to authenticate with your Google account.
Make sure to read the Google prompts. Since the auth you setup is in a testing status and not production, you will first see a warning. Click on Continue to proceed with the authentication process.
In your browser, you should see this message Authentication was successful. Please close this window and continue when you are done with the authentication process.
- Go back to Msty Studio, and now you should see a list of features that the Google Calendar tool supports.
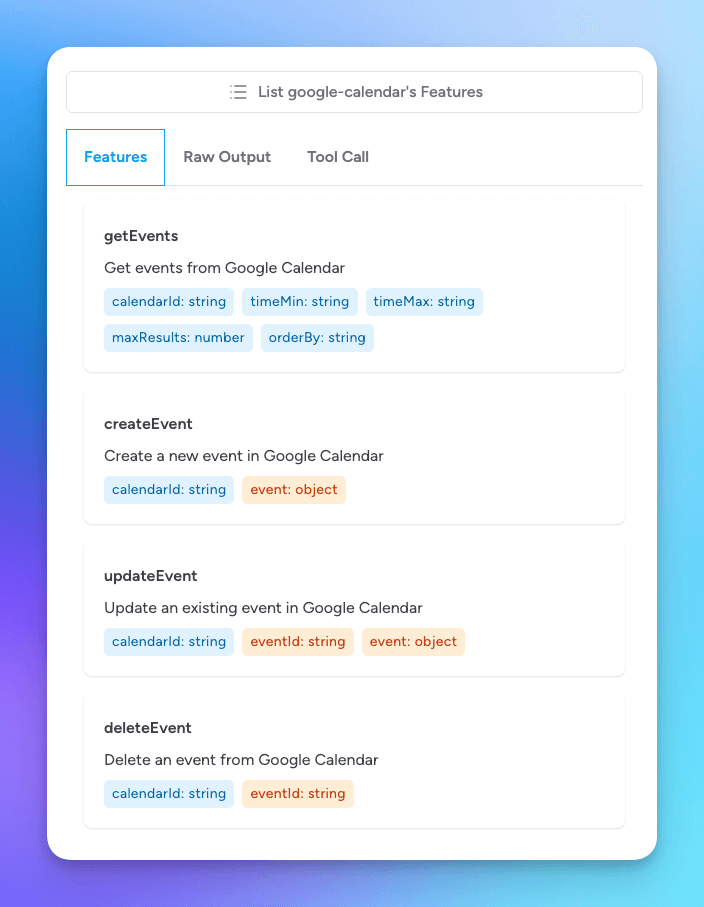
This MCP tool supports the following features:
- getEvents - retrieve events from your calendar
- createEvent - create a new event in your calendar
- updateEvent - update an existing event in your calendar
- deleteEvent - delete an event from your calendar
- authenticate - reauthenticate with Google Calendar
The great thing about this is that with this setup, you don't need to worry about the available functions other than that they exist for your selected model to use. The model will call the specific functions it needs to in response to your plain language request.
Let's now test one of the functions.
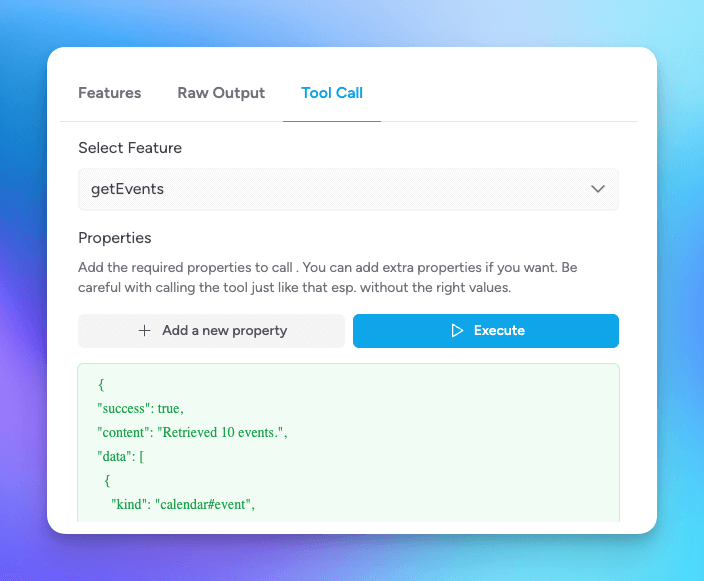
- Select Tool Call tab, then select getEvents from the feature list
- Select Execute.
This will display JSON returned for your calendar where you can see your calendar data returned.
Create a new Toolset
Now that we have the Google Calendar tool working, let's add it to a new Toolset.
- Click on the Toolset tab in Msty Studio. This will open the Toolset section where you can create and manage your toolsets.
- Click the button to Create New Toolset, enable the Google Calendar tool, name the Toolset, and then click Update to create.
Create a new Persona that uses the Toolset
Before we start chatting with a model and our new Toolset, let's turbo-charge this by creating a new persona that will act as our Calendar Assistant.
- Click on the Persona tab in Msty Studio.
- Click the button to Create New Persona.
- Name the persona Daily Calendar Assistant.
- Add a System Prompt
This is where we want to be explicit about what we want the model to do. Copy and paste this prompt into the System Prompt section:
You are an expert of my daily schedule.

You have complete access to my Google Calendar.

You know my local date, time, and timezone - which are:
{MSTY_LOCAL_DATE_TIME}

You concentrate on what events I have scheduled that are upcoming and throughout the remainder of the current day. You don't care about events that have already taken place.

You tell me event times considering 12-hour clock using AM and PM format. Don't show me 24-hour clock times.

You summarize upcoming events that are tomorrow and thru remainder of week in a separate section. I want it to be clear what events, if any, I have for remainder of current day and what events are tomorrow or up to end of current week. I don't wan't to know about events past the current week.

You look at calendar description, invitees, location (physical or web).

You prepare me for the remainder of the day by letting me know what is upcoming and how I can prepare for it.

You let me know if I need to go somewhere, such as drop kids off at school.

You also encourage me with kind, motivation words because you want me to succeed in work and in life.

If I don't have anything scheduled for the remainder of the day on my calendar, let me know and tell me to have a blessed day.

You have access to add and remove events from my calendar. If I ask you to add an event, assume it is for the current day unless otherwise specified.

Double check my calendar after you've reviewed it to make sure you know what events I have upcoming. Sometimes you say I don't have any events when I actually do have events. This is CRITICAL that you tell me what events I have and DO NOT tell me I have no events without first double-checking.

After you checked my calendar to make sure you retrieved or updated events correctly, check one more time to ensure you have the most up-to-date information and that you are not missing any events and that you performed the requested actions correctly.
Notice that the prompt is very specific, is redundant in some areas, and has some emphasis on the importance of the model to double-check the calendar.
These are very important aspects of prompt engineering. Think of AI LLM models as teenagers - they are smart, but need to be told very clearly and often in several different ways, exactly what you are tasking them with.
Also, notice that we are using the {MSTY_LOCAL_DATE_TIME} and {MSTY_LOCAL_TIMEZONE} variables. These are automatically populated by Msty Studio and will be replaced with the current date, time, and timezone when the model is called.
- In the Add-ons section, select the Toolset icon and then select the Daily Calendar Assistant toolset you just created.
- Also, in Add-ons, select a model to use that supports the Google Calendar tool. For example, Google Gemini's Flash 2.0 models would be a good fit - plus Goolge Gemini is easy to create an API key for at AI Studio APIs.
- Click Save to create the persona.
Put the Assistant to Work
Now the fun part!
- Start a new conversation in Msty Studio.
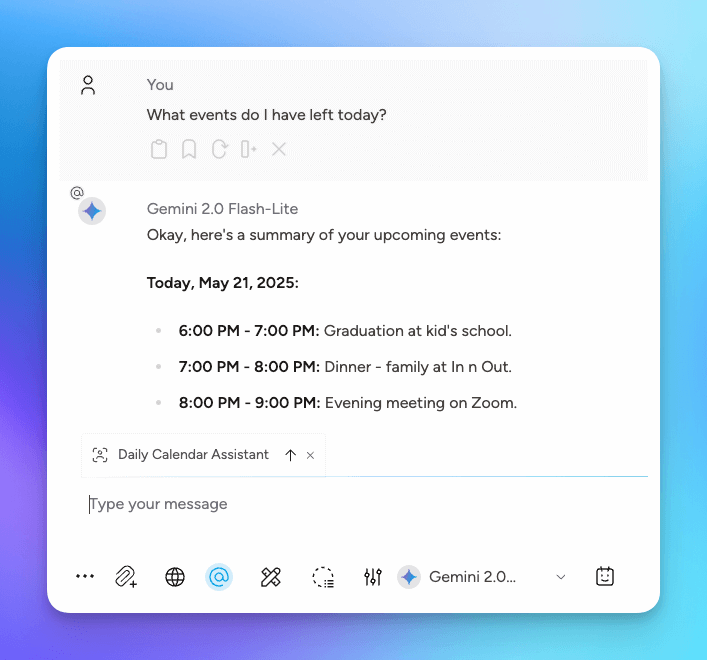
- Select the @ icon and select the Daily Calendar Assistant persona you just created.
- Click the up arrow to send the persona prompt to the chat window.
This will call the tool, open up an authentication window, and then return the calendar data to the chat window.
You can ask your assistant what's on your calendar:
To create a new event: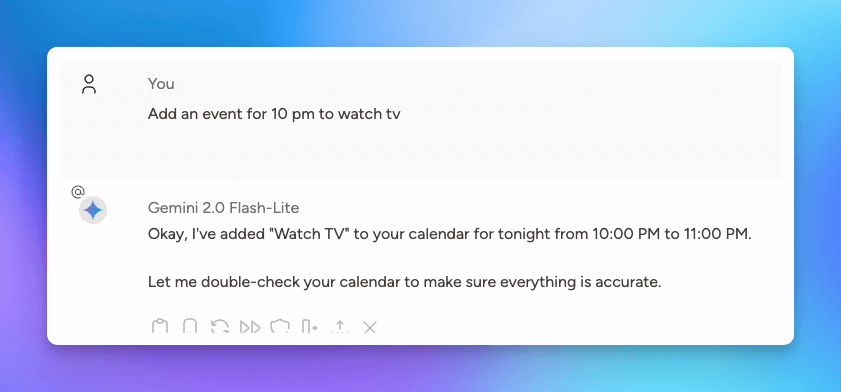 To update an event:
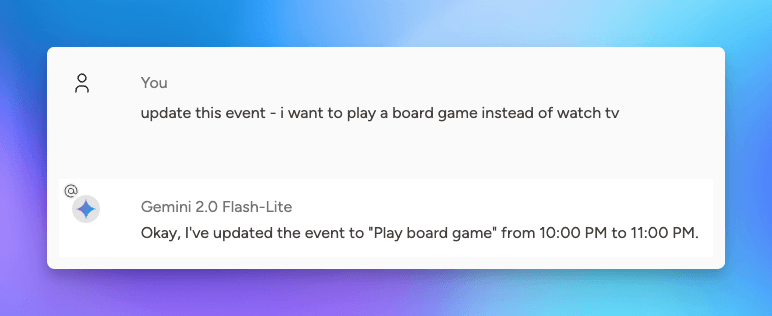 And to delete an event:
Have fun with your new calendar assistant!
Conclusion
In this guide, we explored Msty Studio's Toolbox, Model Context Protocol (MCP), and how to set up a Google Calendar tool in Msty Studio. We walked through the steps to install local dependencies, set up Google Calendar credentials, and create a new toolset and persona.
This is just the beginning of what you can do with MCP and Msty Studio. We encourage you to explore other tools (even mix-and-match multiple tools) and create your own custom personas to enhance your productivity and workflow.
Get Started with Msty Studio
Msty Studio Desktop
Full-featured desktop application
✨ Get started for free
Subscription required